Crucial Things First-Time TSA PreCheck Users Must Know Before Heading To The Airport
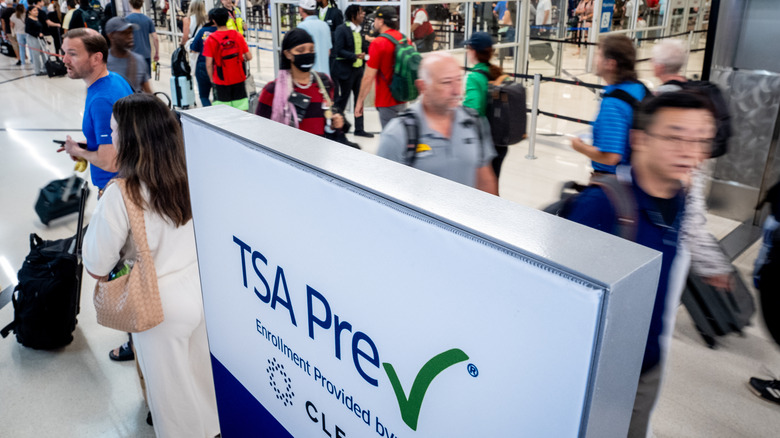
Launched at the end of 2013, TSA PreCheck offers frequent (and not-so-frequent) travelers a ton of time-saving perks when it comes to airport security and boarding. Currently priced at up to $85 for a five-year membership — with a $70 renewal fee after that — members enjoy benefits such as expedited screening, dedicated lanes, and less intrusive checks at participating U.S. airports. Not only does this speed up the process, but it also makes the entire airport experience a lot more efficient for pretty much everyone involved.
As of 2024, TSA PreCheck boasts over 20 million active members, and the program has quickly become a game-changer for families traveling with babies, business flyers hoping to save time, and casual travelers who simply don't want to deal with long security lines before jetting off. However, TSA PreCheck isn't necessarily a one-and-done solution to all your airport woes. In fact, even seasoned users can eventually run into unexpected issues and occasional hiccups with the service.
So whether it's your first time using TSA PreCheck or your tenth, it's perfectly normal to have some pre-travel jitters and questions. Because, while being a member can significantly reduce wait times and simplify screening, knowing a few additional key details — like how to ensure you're correctly enrolled or even what to wear to the airport — can help make your journey a whole lot smoother.
Enrolling for TSA PreCheck

In most cases, enrolling for TSA PreCheck is a pretty straightforward process. However, there are some important requirements you should know before applying for TSA PreCheck that might determine whether or not you're even eligible. This includes things like being a legal U.S. citizen or resident and having a clean criminal record.
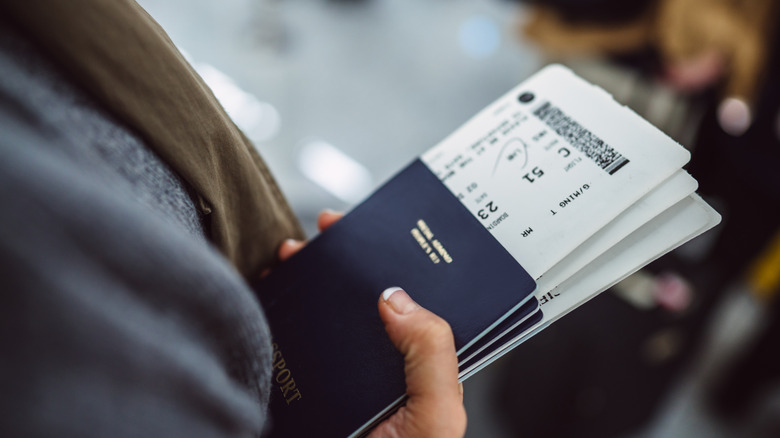
Once you're sure you're eligible, simply visit the TSA PreCheck website and complete a brief online eligibility questionnaire. After submitting your online application, you'll have to schedule an in-person interview at your preferred TSA PreCheck center. This interview typically lasts about 10 minutes and involves collecting all of your biometric data — aka, your fingerprints and photo — as well as verifying all of your documents to make sure everything is in order. Make sure you bring a valid U.S. passport to the meeting — or a permanent resident card or unexpired foreign passport with appropriate visa — and any other necessary paperwork they might have asked for.
Finally, once all that's done, you should receive your approval status within three to five business days. Along with this, you'll also get a Known Traveler Number (KTN) that you can start to use when booking flights in order to access all of the TSA PreCheck perks.
Always add your Known Traveler Number to your reservation
Put simply, your Known Traveler Number (KTN) is the key to unlocking TSA PreCheck benefits. A unique, nine or 10-digit identifier that starts with TT, TE, or AC depending on the service you used to enroll, this number links your TSA PreCheck membership to any active flight reservations. That said, including your KTN to your reservation is crucial — otherwise, you won't be able to access any of the benefits. Nonetheless, adding your KTN is a step that many first-time users overlook. In fact, regarding KTNs, some of the most common mistakes that travelers make include forgetting to enter it altogether, entering it incorrectly, or having mismatched personal information that doesn't align with their TSA PreCheck application details.
In order to avoid these mistakes, make sure to check for your KTN in your TSA PreCheck approval email or online account. Then, when booking your flights, enter it exactly as it appears and double-check that your full name and birth date match those on your TSA PreCheck application. Beyond that, if you're a frequent flier with a specific airline, you can even save your KTN to your profile so that it automatically applies to any and all future bookings.
Check-in for your flight before heading to the airport

Along with making sure you've correctly linked your KTN to your booking, checking in for your flight 24 hours before you head to the airport is another crucial step that can help you avoid any last-minute surprises. After all, doing so gives you the opportunity to confirm that your TSA PreCheck status is active and that it shows up correctly on your reservation.
Once you've checked in with the airline, look for a small TSA PreCheck logo on your boarding pass. If you don't see it, don't panic — you still have enough time to resolve this. Simply contact the airline directly to see if there's been a mistake, or reach out to a TSA rep so you can get to the bottom of the issue together. Sometimes, all that's wrong is a slip of the finger — or, in some cases, all you need to do is simply renew your TSA PreCheck membership because it's expired.
Alternatively, if you've left this check to the last minute — or if you hadn't realized that your boarding pass wasn't TSA PreCheck eligible — you can still resolve the issue once you're at the airport. Just make sure you head to the airline counter with at least two hours to spare, and speak to a representative who can get you vetted, verified, and print out a new pass for you.
Dress for comfort, not for flash
Although TSA PreCheck allows you some extra benefits — like wearing your shoes through security and keeping your laptop in your bag — it's still important (and smart) to dress with convenience and comfort in mind. That said, you're going to want to leave the fancy outfits for after you land at your destination — or, if necessary, at least until you've cleared security.
In terms of clothing, you're better off wearing lightweight layers that are easy to remove and that don't have any buckles or a lot of metallic bits — two of the worst things you can wear to the airport. The same goes for jewelry, footwear, and any other accessories that might get you on a TSA agent's bad side and slow down the screening process.
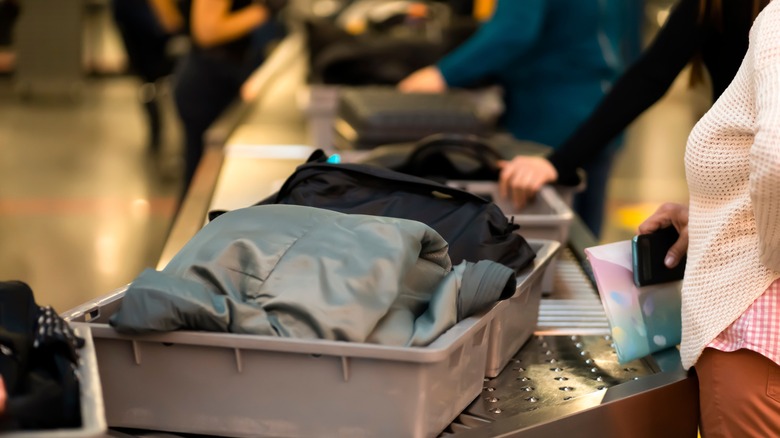
Keep in mind that you may occasionally be subject to additional screenings despite your TSA PreCheck benefits. Along with that, there may also be times when you'll need to double-check if PreCheck lanes will be open (because, no, they're not always functional), or even airports where the service simply isn't provided. In all of these cases — and although you might still enjoy some expedited screening benefits — you may need to follow standard security procedures.
Keep your essentials handy
Last, but definitely not least, organization is also key when navigating airport security — even with TSA PreCheck. No matter where you're going or how long you're traveling, make sure you have your ID and boarding pass readily accessible (not stuffed away at the bottom of your bag) to avoid any unnecessary delays at the checkpoint, and always double-check that you have everything you need before you even leave home. Let's be honest: The last thing you want to do is derail your holiday because you've misplaced your documents.
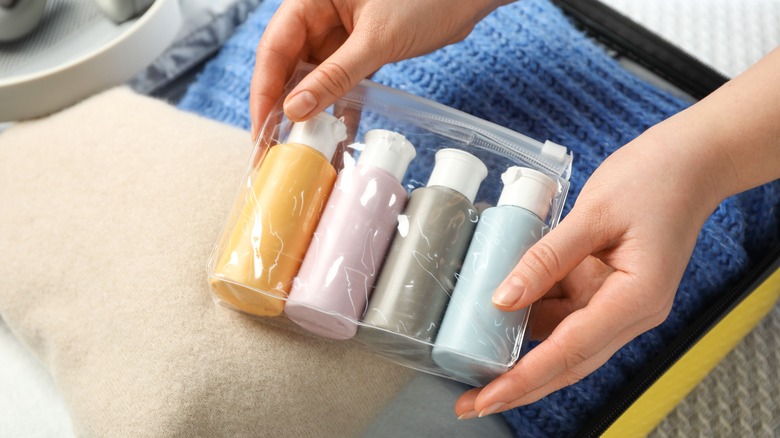
And while TSA PreCheck typically allows you to keep liquids and electronics in your bag, you can never be too sure of random checks. With that in mind, packing your carry-on strategically and efficiently can help you — and everyone in line behind you — save time and reduce stress in the case of an unexpected inspection. To do so, packing cubes and clear toiletry bags are a great way to keep things organized, and compression bags can also significantly cut down on bulk — all of which can be especially helpful if you're traveling with just a carry-on.